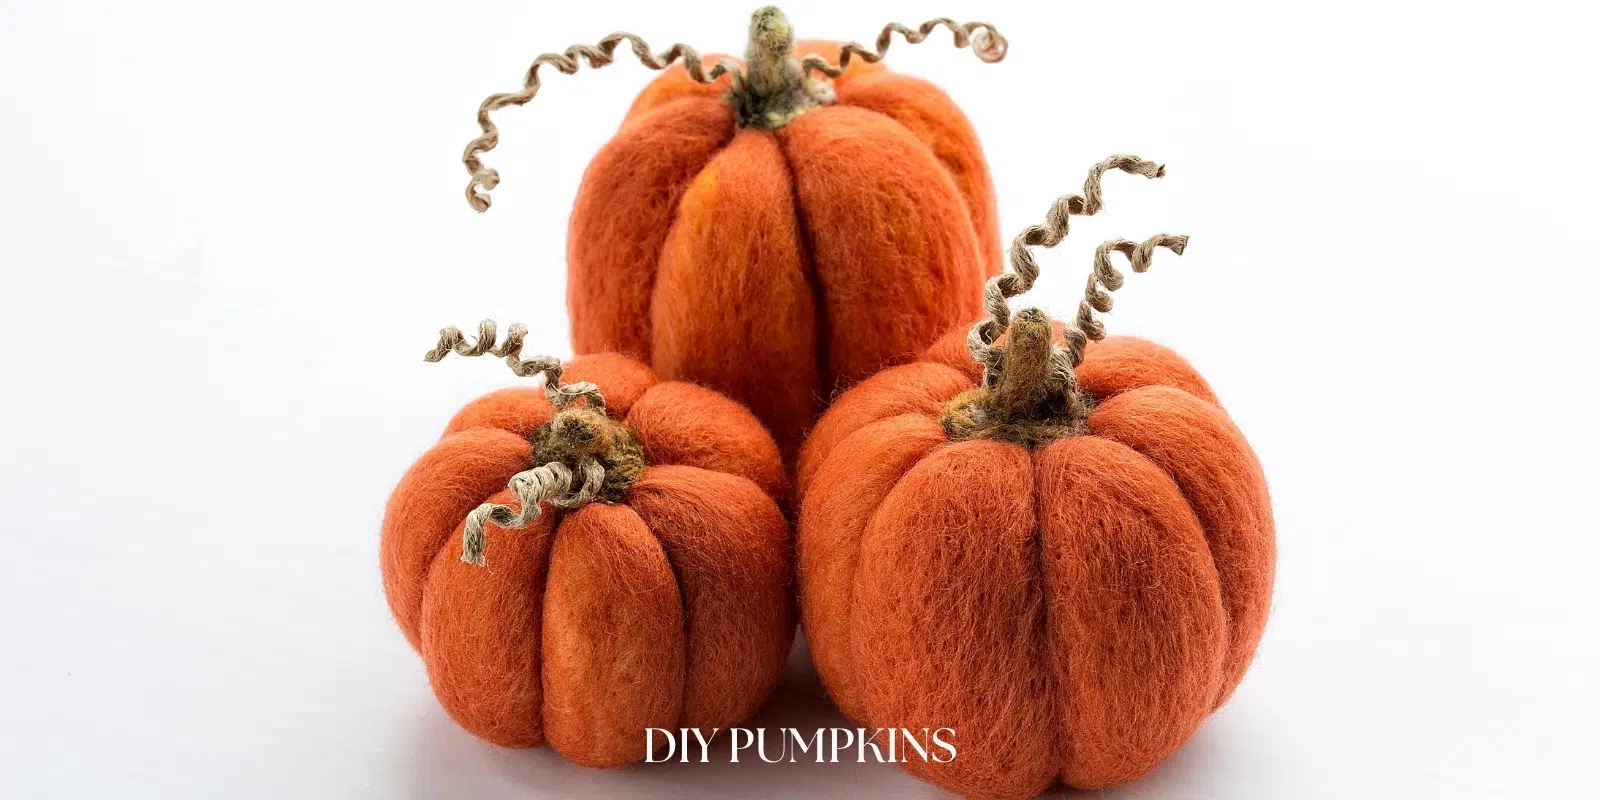
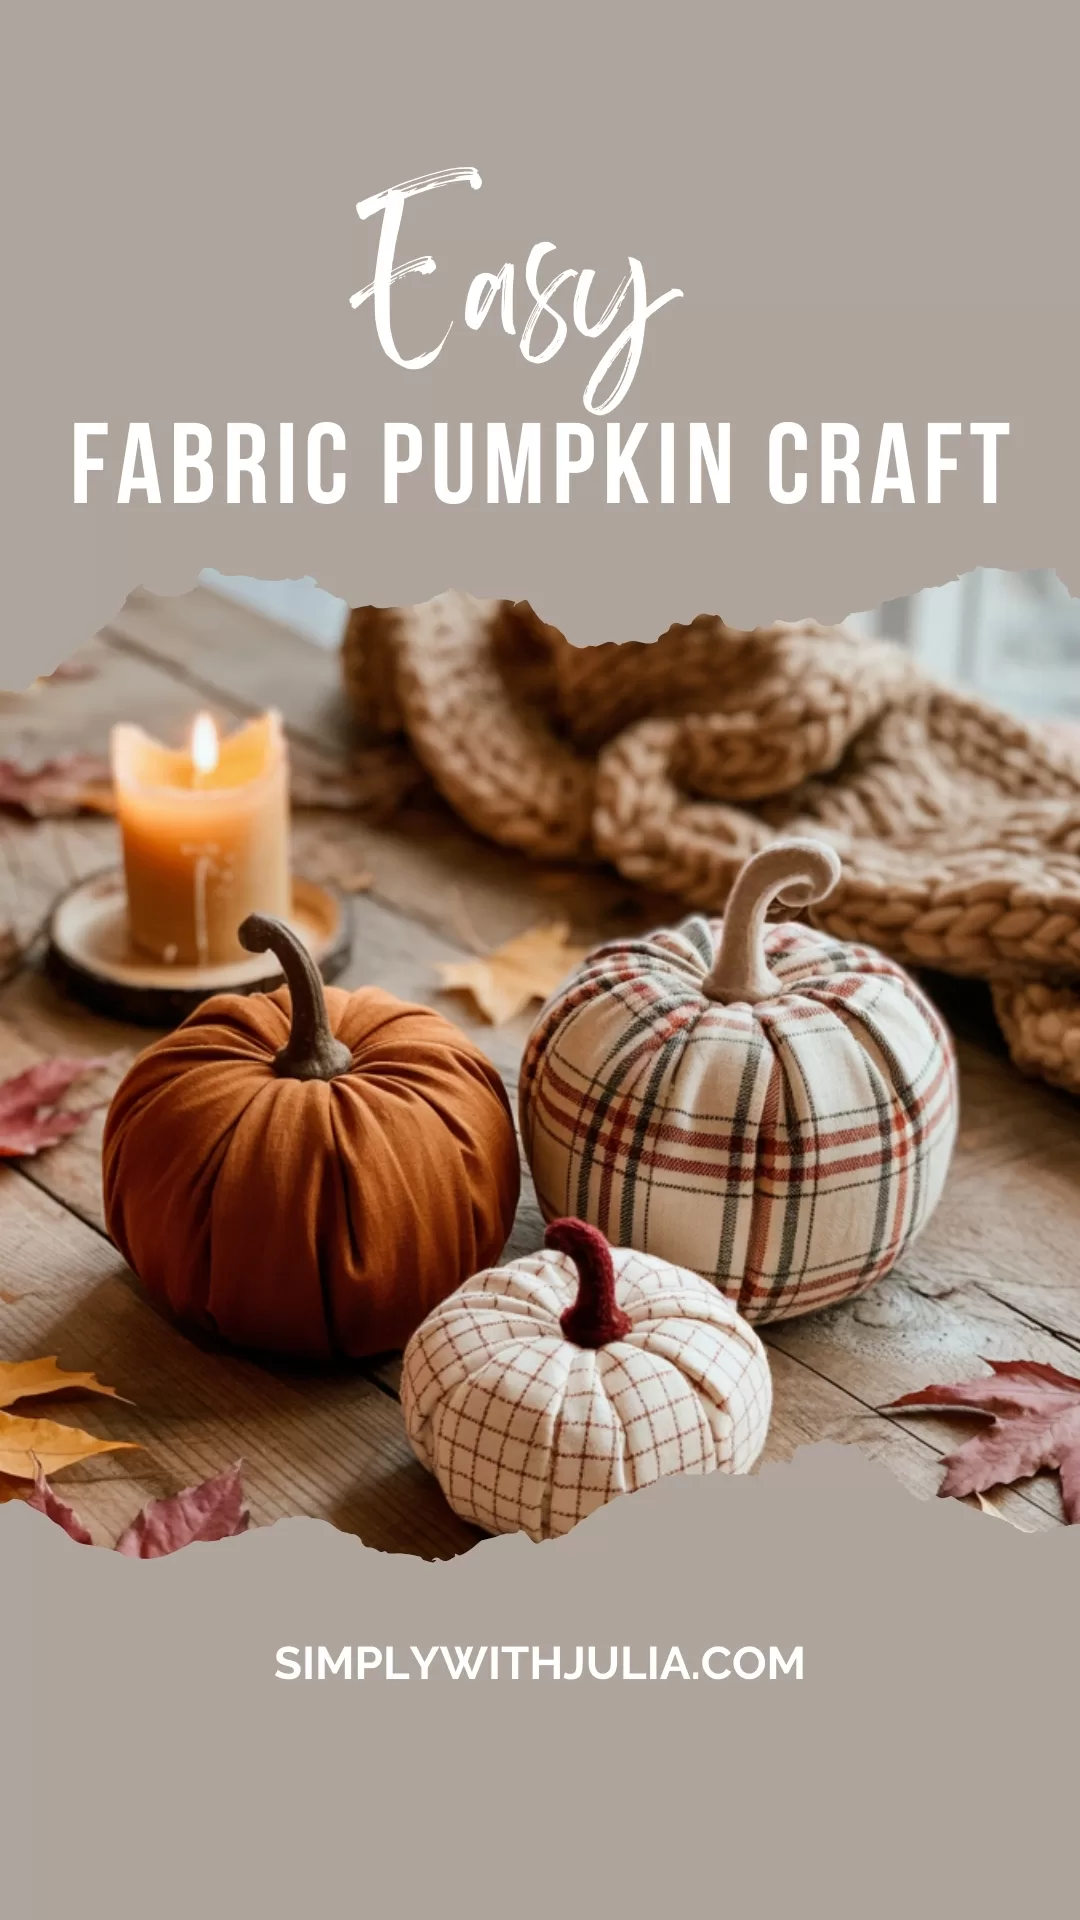
Looking for fall decor that feels timeless, cozy, and just a little bit clever? DIY fabric pumpkins are such a fun way to bring warmth and personality into your home. They’re soft, inviting, and easy to customize with different fabrics, so each one feels special.
Making DIY fabric pumpkins is such a simple project with a lot of heart. You don’t need fancy tools, just a few supplies you probably already have. And if you have kids, it’s a wonderful craft to do together as it it sparks their creativity and turns the whole thing into a memory-making afternoon. Picture a cozy fall day with warm tea or cocoa on the table, fabric scraps spread out, and everyone creating their own little pumpkin. Before you know it, you’ve got a pumpkin patch that feels playful, warm, and uniquely yours.
Why Make Fabric Pumpkins
- They look classic and tailored, like something from a favorite boutique.
- They are reusable, so you can enjoy them year after year.
- They are budget friendly, and easy to customize to your colors.
- They are quicker than a full sewing project, but still satisfying.

Materials
- Fabric squares, 1/4 to 1/2 yard per pumpkin, depending on size
- Matching thread and a needle, or a sewing machine
- Polyfill stuffing, you can add a little rice or beans for weight
- Twine, yarn, or strong string for gathering and shaping
- Hot glue gun or strong fabric glue
- Scissors, pins, safety pin, ruler
- Stems, see ideas below
- Optional, felt or faux leaves, ribbon, small tags

Fabric Choices That Look High-End
- Velvet, rich and soft, instantly luxe for mantels or dining rooms.
- Linen, relaxed and elegant, perfect for neutral, collected style.
- Plaid flannel, cozy and traditional, lovely in family spaces.
- Vintage textiles, grain sack, or drop cloth for a French farmhouse feel.
- Cable-knit sweater fabric for a warm, layered look.

Stem Ideas
- Cinnamon sticks for a subtle, warm scent.
- Small twigs or driftwood pieces for a natural look.
- Wine corks trimmed to size for a sturdy stem.
- Saved real pumpkin stems for the most realistic finish.

Cut and Sew, The Simple Method
- Choose a size and cut a rectangle. The width should be about twice the height. Try:
- Small, 10 x 5 inches
- Medium, 14 x 7 inches
- Large, 18 x 9 inches

Wider rectangles make plumper pumpkins. Taller rectangles make taller pumpkins.
- Fold the rectangle in half with right sides together. Sew the short side with a 1/2 inch seam to form a tube. Hand stitching works, a quick running stitch is fine.
- With one open end, run a long gathering stitch around the edge. Pull tight to close the bottom. Knot securely. Turn the tube right side out.
- Fill with polyfill, add a small handful of rice or beans at the bottom for weight. Do not overstuff, you want a soft, rounded shape.
- Gather the top opening with another long stitch. Pull tight and knot. You now have a soft fabric “pumpkin.”
- Add the stem. Tuck it into the top opening and secure with hot glue or fabric glue. Hold until set.
- Optional, create pumpkin segments. Wrap twine around the pumpkin from top to bottom, crossing under the base each time, pulling gently to form six or eight sections. Tie off at the top and hide the knot under the stem.
Finishing Touches
- Glue on felt leaves, or snip simple leaf shapes from leftover fabric.
- Tie a slim ribbon or velvet bow around the stem for a pretty finish.
- Add a small tag with a name for place settings.
- Brush a little metallic craft paint on the stem for a subtle gleam.
Style Them Like High-End Decor
- Group in odd numbers, three or five looks collected and intentional.
- Mix textures, velvet, linen, and knit together feel layered and rich.
- Keep a tight palette, think creams, camel, brass, and one accent color.
- Anchor on a tray with a candle and a few acorns or pinecones.
- On a mantel, stagger sizes and tuck in eucalyptus for softness.
- In the entry, pair with a stack of vintage books and a small lamp.
Troubleshooting and Smart Tips
- If the top opening shows, add a felt circle under the stem to hide it.
- If the pumpkin is lumpy, pull out a little stuffing and smooth it, then re-gather.
- If the stem wobbles, add more glue deep into the opening and hold longer.
- For neat gathers, use a doubled thread and longer stitches, less chance of snapping.
- Safety note, keep cinnamon stick stems and small pieces away from pets.
How to Make Fabric Pumpkins in Pretty Variations
- Sweater pumpkins, cut from old pullovers, use the hem as your top edge for a tidy finish.
- Drop cloth pumpkins, durable and neutral, stencil a tiny monogram for a classic touch.
- Velvet pumpkins, use glass bead filler for a weighty, store-bought feel.
- Patchwork pumpkins, join small fabric squares before cutting the rectangle for a charming, collected look.

No-Sew Option
- Cut the rectangle and glue the short side to make a tube with fabric glue.
- Use strong string to cinch the bottom and top instead of stitched gathers.
- Glue in the stem and wrap twine for segments if you like.

Care and Storage
- Spot clean with a lint roller or a slightly damp cloth.
- Store in a lidded bin with a few silica packets to discourage moisture.
- Keep stems upright to avoid squashing, a shoebox works well for small sizes.
Cost and Time
Most pumpkins cost a few dollars in materials and take about 20 to 30 minutes each. Using remnants, old sweaters, or a drop cloth brings the cost down even more. One quiet afternoon, and you will have a full, beautiful display.
Quick Size Guide
- Small, 10 x 5 inch rectangle, palm sized
- Medium, 14 x 7 inch rectangle, a nice mantel anchor
- Large, 18 x 9 inch rectangle, great for the hearth or entry
Make one for every room, or a whole set for the dining table. They are simple to sew, fun to style, and they bring that warm, collected look we all love in fall.
-> Checkout all of the fun DIY Craft Posts
This post may contain affiliate links, which means I may earn a small commission at no extra cost to you. Some products may be gifted, but my opinions are always my own.